Showing posts with label Fuselage. Show all posts

Wednesday, November 10, 2010

Forward Baggage Door Strut Installed

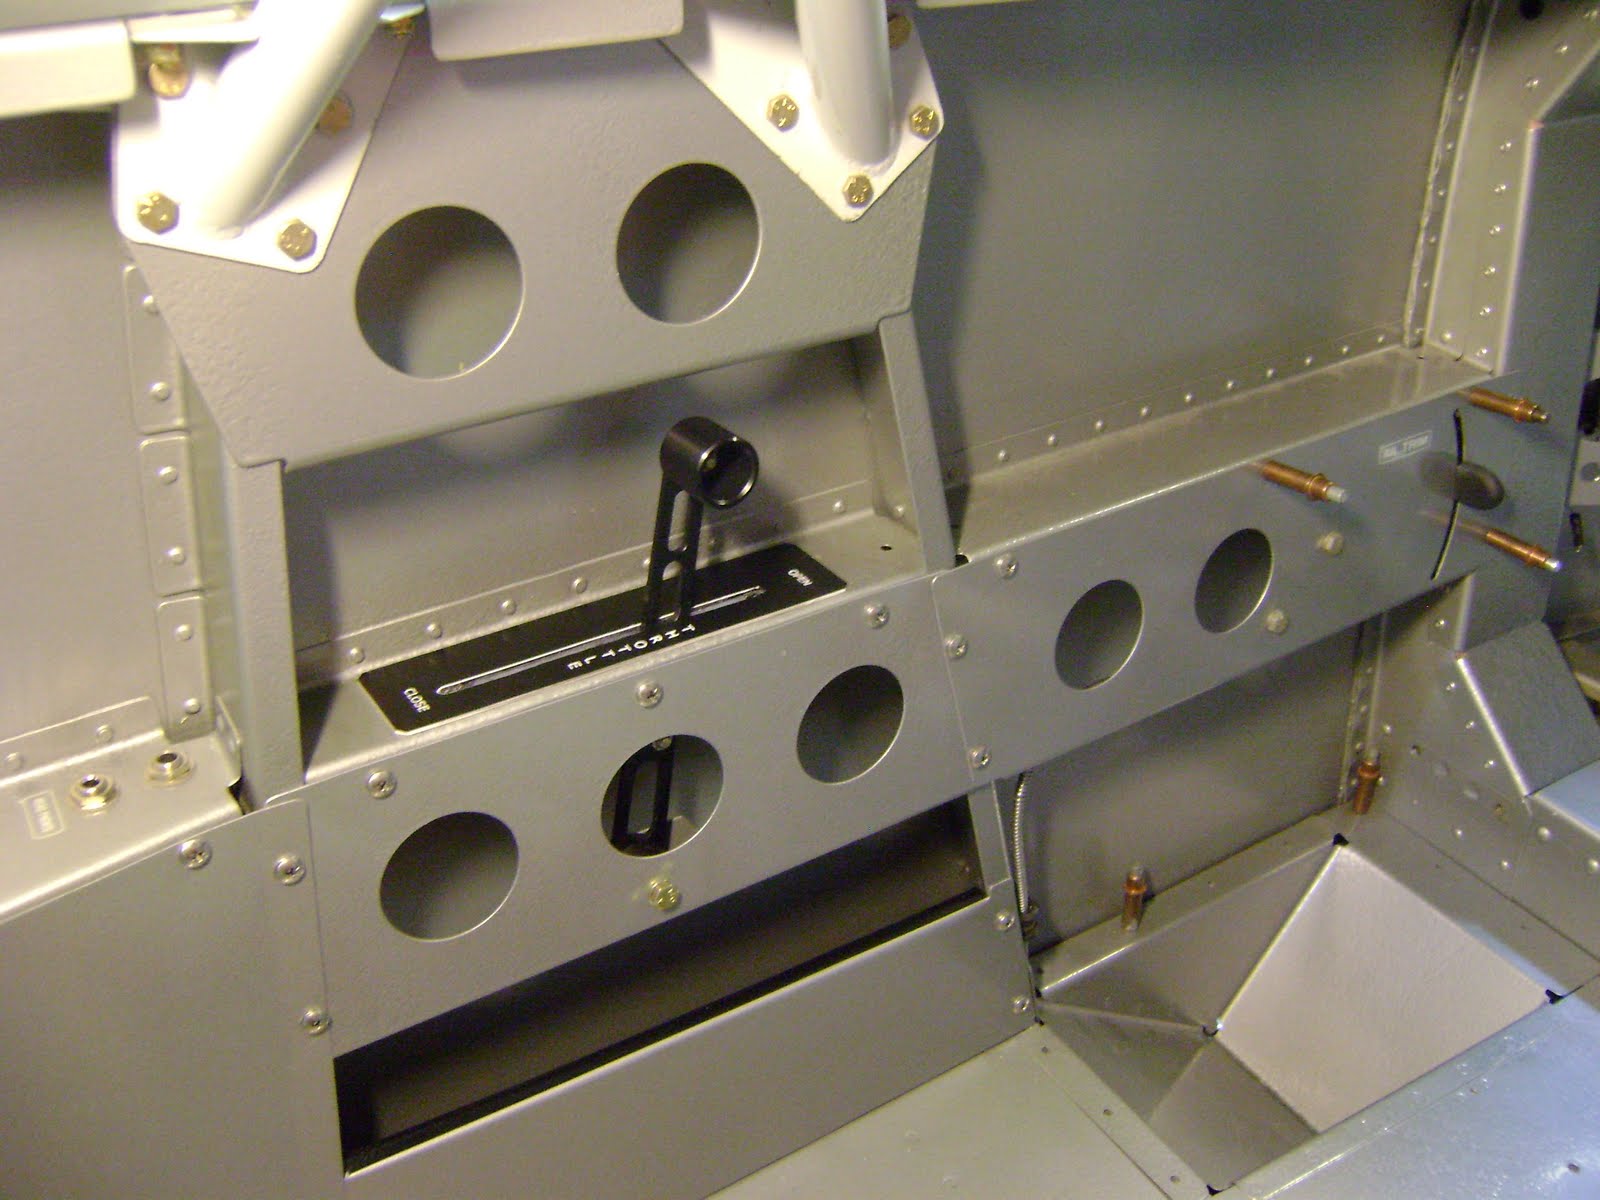
Door closed and locked!


Door open.

LP4-3 rivets. A little trimming was needed to keep the doubler from hitting the rivets. Not much though...

Here is the stainless steel spring strut that I ordered from McMaster-Carr. It is the perfect strut for the RV8 forward baggage door. It holds the door open and it holds it closed. Use two #8 screws and nutplates to mount the bottom portion 8" from the fuselage side. Use (3)LP-4-3 blind rivets to secure the top portion at 11/16" from the bottom of the door.

The part number is:11615A14 $34 usd

*Special Thanks to Matt Dralle for the great tip.

Friday, September 17, 2010

Riveting the Top Forward Skin

This is the second half, yet to be riveted...
Finally, After completing every task I could think of, we started riveting the top skin.
We started on the left longeron, center row, then worked out and over the top. Don't rivet the firewall,until after the hinges are fitted. Same deal with the fwd baggage door hinge.
Here are the elusive cherry rivets you will need to get to those impossible spots. I ordered 40. *Thanks to Matt Dralle for the tip.

Saturday, August 14, 2010

Electric Fuel Pump and Filter Installed

Electric fuel pump assembly. 
Jeff Johnson fabbed a bracket to make the filter more accessible.  If you look close, you can see the old mount location. The new one is much better, Thanks Jeff!


Vertical view of Airflow performance filter


Friday, July 30, 2010

Rear Seat Throttle Installed.


I decided to modify the rear throttle kit a bit by placing the mounting plate on the outside of the bulkheads. You may also notice my custom black lever from Chris Welch out of Cali. The lever is a perfect match to the deluxe throttle quad up front. There is some fab and Mod work to do with the optional RST kit, so be prepared. *You will need a dremel tool with a small cutting disc and rotary file.

Wednesday, July 14, 2010

Throttle Quadrant Fitted

I had to refit the left console to make the Throttle Quad lay flush. The problem here is that the Vans prepunched holes, are in the wrong place. Do yourself a favor and check this out before you attach the control cables... You will need to redrill the nutplates in the side plate of the console , the cable pass through holes in the gearbox, and the two nutplates in the F804C Channel. *Thanks to Jim for this heads up!

Saturday, July 10, 2010

ELT Antenna Installed

I chose to mount the ELT Antenna in between the vertical and horizontal stabilizer.   

***Here is an interesting excerpt from Randy Lervolds site***-The location of the ELT antenna on an RV-8 is a bit problematic. There are basically three options: one, inside the empennage fairing oriented horizontally, two, somewhere in the interior such as the right side of the passenger area, or three, a rubber ducky at the very forward edge of the turtledeck. All three are a compromise for various reasons. I chose option one which is the way Van's has done it on all of their demo ships. Frankly, the ELT technology we are using now is almost obsolete and will likely be replaced with a new satellite based system within 5 years. 

*Tip- If you decide to go this route, try to mount the antenna to the rear bulkhead before the tail or aft top skin is attached. Getting the washer,nut, and BNC fitting connected afterward, proved to be a real challenge in the tight environment. The gap, shown here, will be covered by the fiberglass empennage fairing.

Thursday, May 21, 2009

Misc Fuselage and Wing Work...

Sorry for the delay, I've been out of town for the last two weeks. Finishing kit will be started in a few days....
Pitot line hole drilled in left side of fuselage(see black grommet) ,Wing Lighting hole drilled(right of pitot hole), I also added another platenut here, on both sides, to help pull the wing fairing up tight.

Platenuts installed on both wings and fuel tanks.. You can also see the one platenut installed on the main spar flange.

More platenuts.... lots of deburring, dimpling, and countersinking going on.


Aft fuselage dimpled for rear flap fairing(inside fuse pic)

Sunday, April 05, 2009

Fuselage to Fuel Tank Bracket Fabricated

I fabricated the left and right outside fuselage to wing tank brackets. This was a huge pain and I spent way to much time working on these guys. I screwed up the first ones, so this was my second attempt. The rough cuts were made with my bandsaw, then polished on the deburring wheel. *Warning*-Take your time, use a pro 90 degree drill where necessary, and have a variety of bits handy. The big hole is for my inverted fuel line to pass through on the right tank. I will make the slot cut to the 1/4 hole shown after the wings are removed. The slot will allow the bolt and wing to shear off in the event of an accident. I will prime the brackets later....

Friday, March 13, 2009

The Wings Are On!

The Kids and I pose for a Celebration Pic!
Here the main spars are inserted and bolted with two 7/16" Hardware store bolts on each side. I don't want to use the permanent close tolerance NAS bolts until the final wing assembly at the airport.


The Wings are On! Man, that is a tight fit guys!

Everything is all leveled up and ready for attachment! We used four guys to get the job done.


Udo is giving the main spar edges a bevel with the file. This, along with a generous amount of Boelube, will aid in wing insertion. Make sure you lubricate the bolt shanks too...

Wednesday, February 18, 2009

Trick Tip from Vans

The Vans manual recommends making a nutplate of sorts to store the wing tie down rings. Here, a thick piece of aluminum has been drilled and tapped to accept the ring. The alum piece was then riveted from the bottom up into the gusset behind the rear pax seat back. Hey, every little thing you can do to get parasitic drag out of the air is good right? *Look at the shadow under the gusset to see the aluminum block.

Saturday, February 07, 2009

Fuselage Positioned for Wing Fit

I recruited 4 neighbors to help me back the fuselage out of the basement, do a 180, and set it into place, as shown. Might I suggest using 6 neighbors next time.....Man, my back hurts! Wings will be fitted soon.

Tuesday, February 03, 2009

ELT Install

I fabricated a bracket and mounted the ELT.
Here, the bracket is bolted in place in the aft fuselage. I still need to buy an antenna and remote wire... *I placed the ELT here to help balance the CG since I'm mounting the battery on the firewall. With the wooden backboards in place, it's not that terrible to get to the aft fuse to change out the elt battery...


Another view from the aft baggage area.

Monday, January 26, 2009

Manual Aileron Trim Kit Installed

Not a very good pic, but you can see the little handle on the alum panel. It is attached to a cable that is routed down to a rod w/ springs. There, the springs are used to give bias to the aileron push rods.

Fabricated Rear Door for Instrument Panel

Finished door that opens into the forward baggage compartment.
Finished door closed with five flush #8 screws.

View from inside the instrument compartment. The top skin will be riveted into place as soon as the instruments are installed.

Friday, January 23, 2009

Fabricated Rudder Cable Exit Fairings

Here is an idea I got from Sam Buchanan's website. I created my own rudder cable exit fairings from .20 aluminum. Start by measuring out the dimensions, on a 4" piece of alum, as shown.

Next trim the outside borders and bend it 90 degrees at the centerline. Hand seamers work well. Then bend the 7/16" marks on each side, to 45deg the opposite direction.
Next align the fairing on the aft fuselage and mark holes for the rivets. Now,Remove and drill/debur the holes and flatten the forward tips. Follow up with Priming the parts and pop riveting the pieces to the fuselage. I used LP4-4 rivets and sealed the pieces w a little RTV.


Finished product. Not bad for free fairings....


Tuesday, January 13, 2009

Turtle Deck is Riveted!

The Turtle Deck is Done!
Look guys no clecos!

Turtledeck (Aft Top Skin) is prepped and clecoed.


3/4" MDF Wooden floorboards were made to lay on top of the lower aft longerons. I then placed a blanket inside to keep me from getting bruised from head to toe. Climbing inside here with the top on is pure hell, but it must be done to buck the rivets.....


The elevator pushrod was removed to ease access to the aft fuselage.


Monday, January 12, 2009

Forward Baggage Door Done!

All Done...... except paint. The lock will be installed soon.... I am going to order the matching lock/key/ignition switch from Vans.
Interior primed, awaiting paint.

Door taped in place, then pop riveted from the inside. Yes, my back still hurts....


Everything clecoed up, ready for drilling


Inside, before the interior skin is attached.


Friday, January 09, 2009

Forward Top Skin Drilled Out

Here you can see where the forward baggage door will be placed...
Top skin clecoed up and ready to be drilled...