


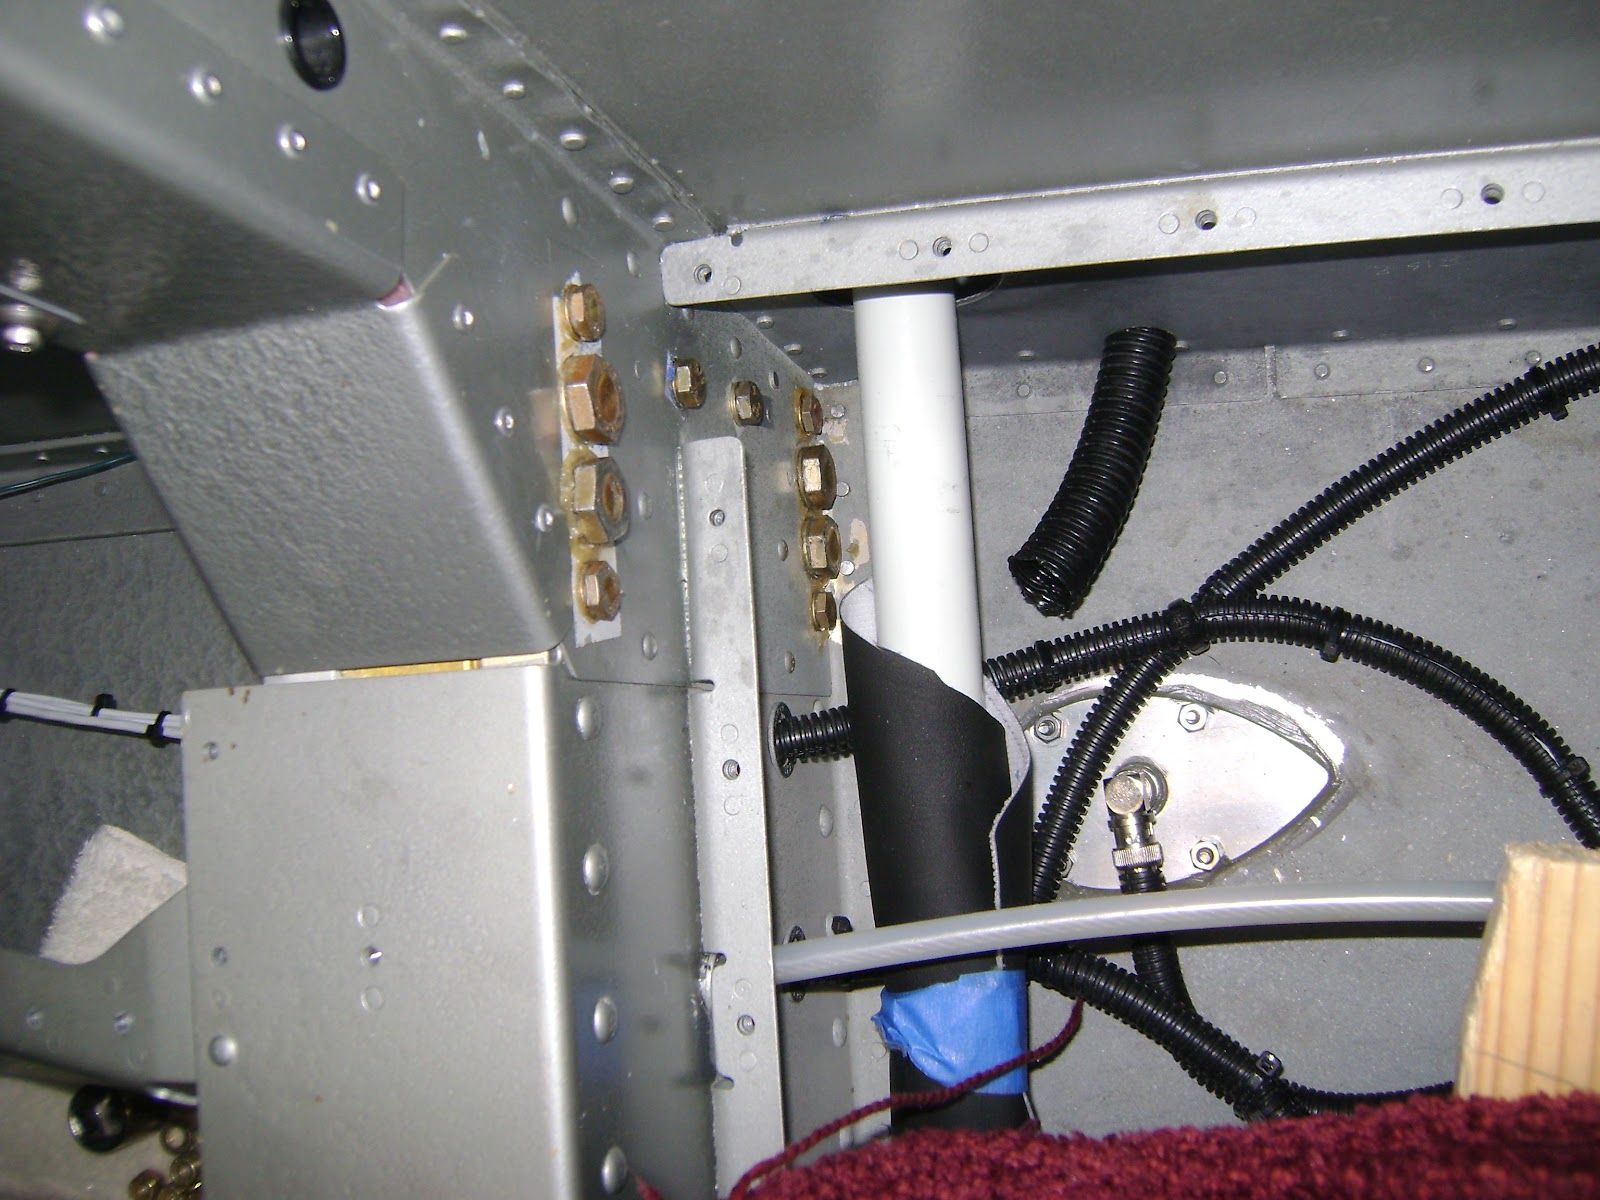

I was able to torque the Right side from the nuts and the Left side from the heads.
*Note - NAS bolts have different torq settings than AN bolts.
NAS 1304 80-100 inch/lbs NAS 1307 520-630 inch/lbs AN4 Bolts 50-70 inch/lbs
Wing Bolt Notes
1- Prepare early by doing research on the VAF site, gather all the required tools, and look over plans pg. 80
2- Make sure all of the prep work is Done. (Aileron push tubes installed, fuel level sender wire hole drilled, 1/4 gap cut in front brackets(use an Air saw), rear air vent hose ready for install,etc
3-Freeze the Bolts, Make drift/alignment Pins from hardware store bolts
4- Take Your Time, Have at least 3 helpers
5- Lube the bolt shanks, drifting pins, and holes prior to install.
6-Acquire an Air Ratchet, Rivet Gun (with flush set), small Ball Peen Hammer, Box Wrenches/Sockets/Crows Feet(5/8,11/16,7/16 etc.), Various Extensions, Breaker bar, Mirror, Magnet, Grease, Rubber Gloves, Head Lamp, Drop Light,etc.
1 comment:
Wow! Congratulations. I am very excited for you!
Post a Comment